(Image: Sarah Jacobsson Purewal)
My router is in my home office, which is attached to my bedroom. The unnecessarily thick concrete-and-steel wall separates my office from my living room, which is where my beautiful 40-inch HDTV, PlayStation 4, and Xbox One live. I have tried just about everything to improve my signal -- after all, a girl's gotta be able to stream Tokyo Jungle on PlayStation Now -- and there are only a few things that have worked. Here are some tips on how to improve the Wi-Fi strength in your home or office, from a desperate fan of the PlayStation Plus network:
Tweak Your Settings
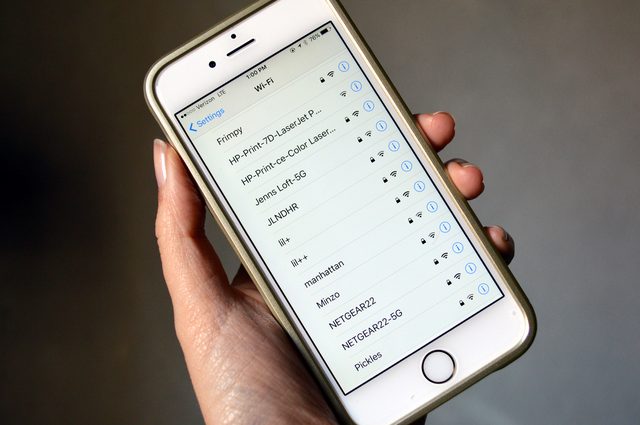
Most modern routers can run on two different frequencies: 2.4GHz, which is an older standard, and 5GHz. If you've never messed with your router's settings before, it's probably operating on the older 2.4GHz frequency. Because most routers run on this frequency by default, your Wi-Fi could be slower than it needs to be. If you live or work in an area that's crowded with Wi-Fi networks, you may be able to boost your Wi-Fi speed by switching your router's frequency and channel.
To change your router's frequency, you'll need to access your router's settings page. To do this, you will need to plug your router's IP address into the address bar of any browser. You can find your router's IP address by opening the Control Panel (in Windows 10, do this by right-clicking the Start button and choosing Control Panel) and going to Network and Sharing Center.
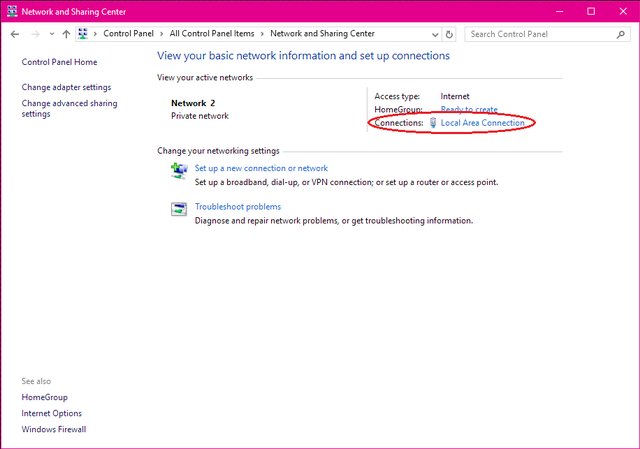
You do not need to be on a wireless connection to access your router's IP address,
though you do need to be wired into your router. (Image: Sarah Jacobsson Purewal)
Next to Connections, click the name of your local network to open its properties window.
Click Details... to open the Network Connection Details, and find the number next to IPv4 Default Gateway. This is your router's IP address. Type this number into the URL bar of any web browser and hit the Enter key to open your router's settings page.
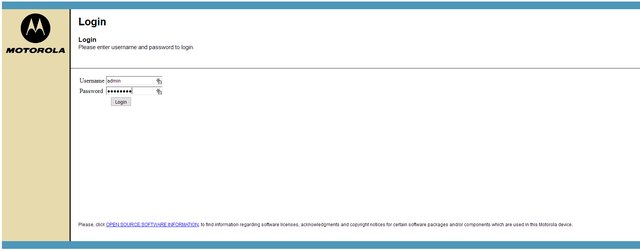
If you don't remember your username or password, try the default username and password for your router.
(Image: Sarah Jacobsson Purewal)
You will need to log in to this page using your username and password. If you don't know your username and password, the router is probably using the default username and password. You can find your router's default username and password by selecting your model on this website.
(Image: Sarah Jacobsson Purewal)
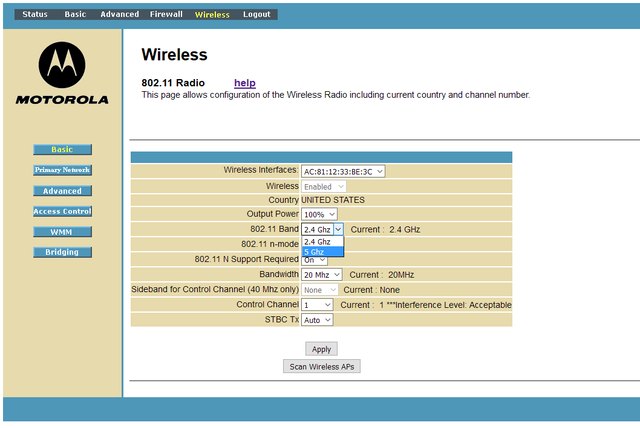
Once you're inside your router's settings page, look for the wireless settings. Here, you should see the option to change your 802.11 band from 2.4GHz to 5GHz.
Changing your frequency is not the only thing you want to do, though -- you also want to make sure your router is operating on a control channel with as little traffic as possible. There are 11 channels on the 2.4GHz frequency, only three of which are non-overlapping (1, 6, and 11). There are 23 channels on the 5GHz frequency, all of which are non-overlapping. To find the channel that has the least traffic, you'll need to use a utility that can scan the networks in your area.
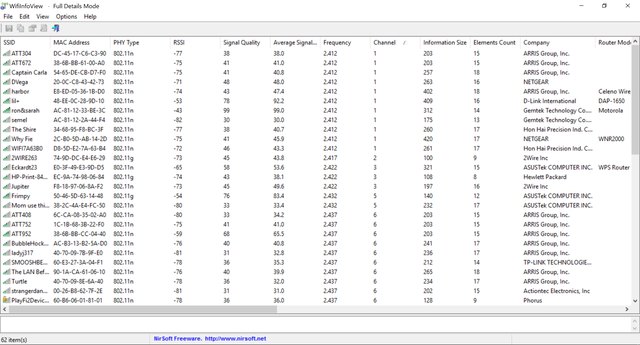
WifiInfoView shows you detailed information about the networks in your area.
(Image: Sarah Jacobsson Purewal)
I like WifiInfoView, which is free. Simply download WifiInfoView, unzip the file, and run it, and you will be able to see all the networks in your area, what frequency they're using, and what channel they're on. Find the channel that has the least networks on it, and change your control channel to that one.
The frequency and channel you end up using will depend on the networks in your area and what you're looking to accomplish. The higher 5GHz frequency is not necessarily the best, it's just (often) the least used. However, it's important to note that while your signal may be stronger on the 5GHz frequency, it will not reach as far as it will on the 2.4GHz frequency. So if distance is your priority, you're better off sticking to the 2.4GHz frequency and one of the non-overlapping control channels with less traffic (usually 6 or 11).
Move Your Router
Your router's physical location is more important than you imagine when it comes to dispensing a strong, even signal. Ideally, your router will be positioned as close to the middle of your target coverage area. Realistically, the cable guy who installed your Internet probably hid your router away in a corner somewhere.
Well, good news: Routers are pretty portable! If you're having trouble getting a strong Wi-Fi signal in parts of your home or office, here are some things to consider as you move your router around:
- Height: You want your router to be centrally located, both horizontally and vertically. If you're trying to cover multiple floors, your router should not be on the bottom floor. Even if you're only covering one floor, height can definitely help your router get better coverage -- consider placing it on a high shelf.
- Surrounding material: Some building materials, including concrete, brick, and metal, will absorb and weaken your router's signal. If you can avoid placing your router near a lot of metal objects, or next to a four-foot-thick concrete-and-steel factory wall, that would be best.
- Appliances: Microwaves operate on a frequency that is very close to the 2.4GHz band your router may be operating on. Thus, microwaves (and other household appliances, such as cordless phones and baby monitors) can disrupt your Wi-Fi signal -- yet another reason to switch over to the 5GHz band.
- Antenna position: This one is easy -- you know how your router has an antenna? That antenna actually does something. If you need more vertical coverage, make sure the antenna is pointing up. If you need more horizontal coverage, make sure the antenna is pointing sideways.
Setup a Wireless Access Point
No amount of settings tweaks and re-positioning can help my unfortunate Wi-Fi situation -- that's what I get for living in a repurposed textile factory. Luckily, there's still another option for people in tricky Wi-Fi situations: Wireless access points.
Now, if your problem is that you simply need more signal -- you have a particularly large house, but no solid concrete walls -- you may not need to set up a wireless access point and you can simply make do with a Wi-Fi extender, like the Netgear EX6200, which is a dual-band extender. A Wi-Fi extender connects to your existing Wi-Fi network and repeats the signal to other parts of your home/office. The main issue with Wi-Fi extenders is the potential speed drop -- a dual-band extender can avoid this by running on a different frequency as your main router, but you'll still have a weaker signal from an extender than you will from the actual router.
For a Wi-Fi extender to work, however, you need to at least be able to get a Wi-Fi signal in the part of your home/office that you want to extend the signal to. I can't use a Wi-Fi extender in my situation, because my Wi-Fi signal drops off as soon as I cross the wall. Placing a Wi-Fi extender on the same side of the wall as my router would be pointless, because the Wi-Fi extender's signal can't cross the wall either.
So, for the truly desperate, this is what you'll need: A wireless access point and a very, very long Ethernet cable.
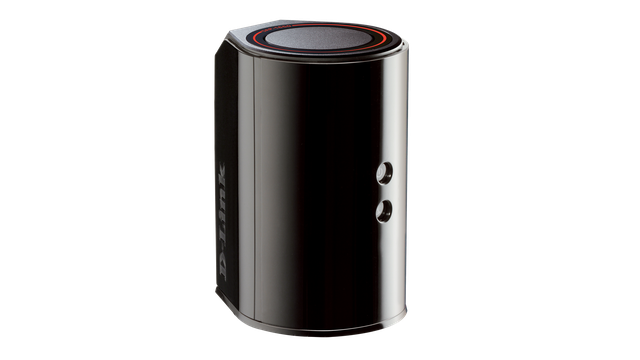
The D-Link DAP-1650 is a Wi-Fi extender that can also be set up as a wired wireless access point.
(Image: D-Link)
I'm using the D-Link DAP-1650, which is a dual-band Wi-Fi range extender that can also be set up as a wired access point. To set up a wired access point, you will need to plug one end of your extra-long Ethernet cable into your router, and the other end into your wired access point. You can then place the access point wherever you want, but you will need to keep it connected to the router. In my case, that means running an Ethernet cable out of my office, through my hallway, and well into my living room. As difficult as this is to set up, the payout is worth it -- I now get a strong Wi-Fi signal on both sides of the wall.


0 comments:
Post a Comment